Open2b version 7.8
Developers
Build and integrate your apps and quickly gain new customers
By building new apps or integrating your existing applications, you can create custom solutions for specific clients and also publish them on the Store to reach all Open2b users, who can immediately install and use them.
Apps can be simple HTML and JavaScript pages or more complex applications built in your preferred programming language and hosted on your own servers. Your apps' user interface will be perfectly integrated into the Open2b back office, giving users a better experience with seamless integration with their ecommerce store.
Apps can provide features that are accessible through menus in different areas of the back office. This speeds up and automates store management with significant time and cost savings for the merchant. Apps can access Open2b APIs with over 100 available methods to automate procedures and integrate existing web applications.
Getting started
Building an app requires at minimum a basic knowledge of HTML and JavaScript. If you are also comfortable with a server-side language (such as PHP, Java, Ruby, etc.), you will be able to make the most of all the possibilities offered by the platform.
The simplest app you can build consists of a single HTML page:
<!DOCTYPE html>
<html>
<head>
  <title>Hello world</title>
</head>
<body>

<h1>Hello, world!</h1>

</body>
</html>
Upload the page to a server and open it in the browser to verify it is reachable.
Note
If you save the HTML page in the same space where Open2b is installed, give the file the .htm extension, because with the ".html" extension it would be treated by Open2b as a site template page and requesting the URL would say it does not exist.
Note
If you are installing the app in an Open2b demo, the app page URL must start with https: otherwise the browser may block the page from loading. Therefore the server where you host the page must support HTTPS.
To install the app you need to log in to the back office as an administrator; a collaborator cannot install apps. If you do not have administrator access or do not want to test in your own back office, you can create an Open2b demo at any time on the Open2b website by clicking "Try for Free". If you are an Open2b partner, you should already have your own non-expiring platform to test with.
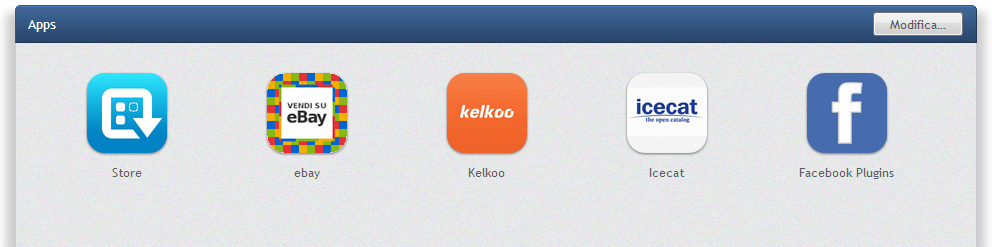
Once in the back office, go to Apps and click "Manage Apps..." and then "Install External App". The following page will open:
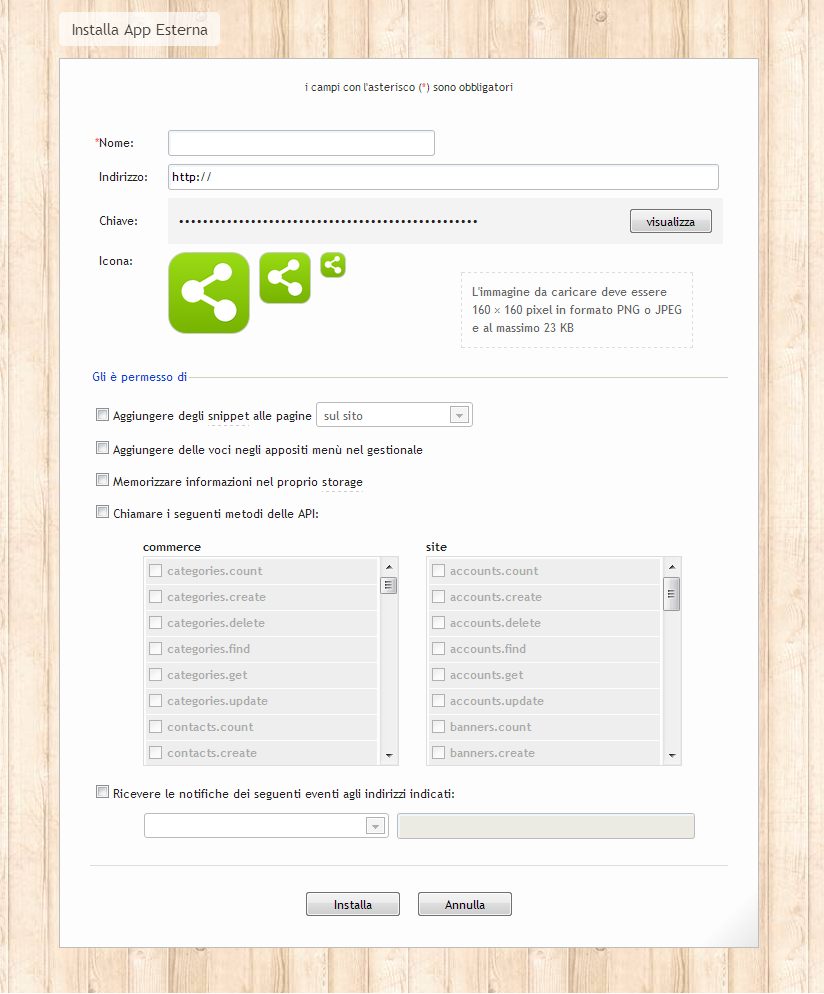
For now, enter the name "Hello world" and provide the HTML page URL (the settings can be changed later), then click "Install". The app will be installed immediately:
Click the icon to open it:
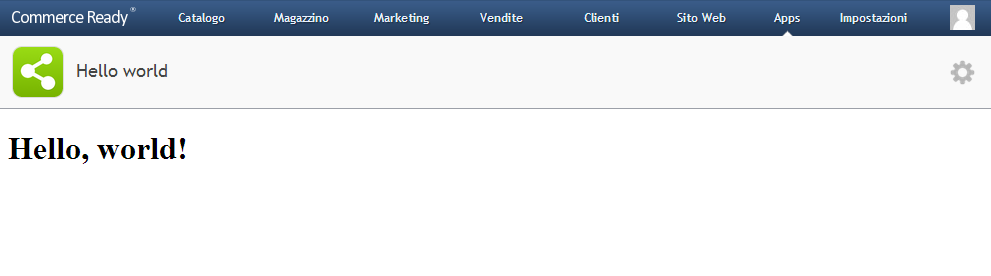
You have just built your first app.
Settings
Let's review the app settings. In the back office go to "Apps > Edit" and click the row corresponding to the app you just created. The installation page will open again, this time allowing you to edit the settings and save them:
| Name | Choose the name that best identifies the app. |
|---|---|
| Address | Main URL of the app, which will open in the back office every time the user opens the app. It can be either "http" or "https". |
| Key | Key used to authenticate the store without requiring login and used to access the APIs from the server via HTTP. HTML and JavaScript-only apps do not need the key. |
| Icon | The icon, together with the name, identifies an app. As indicated, it must be 160 × 160 pixels in PNG or JPEG format and at most 32 KB. You can use dedicated programs to reduce the icon size without quality loss, such as Smush.it. Note: in some Open2b installations it may not be possible to upload PNG icons if the image scaling module installed on the server does not support this format. |
| Snippets | Snippets are pieces of HTML code inserted into site pages. Apps can add various snippets to the site in different positions in the head or body, or allow the user to insert them wherever they prefer. |
| Menu | In the back office there are various menus available for apps, where you can add items that, once selected by the user, open dialog windows in which the apps can interact with the user to perform specific commands. |
| Storage | Storage is a space available to each app for each store where persistent information can be saved. Storage is particularly useful for HTML and JavaScript-only apps because they can store information related to a store without needing a server-side application. |
| API | The APIs allow access to all information in the platform, such as products, customers, banners, etc. You can access the APIs both from JavaScript and server-side via HTTP. |
| Notifications | Apps can receive notifications when specific events occur in the ecommerce platform, for example when an order is received or a new product is created. |
Through JavaScript you can use snippets, menus, storage, and the APIs. Server-side you can access the APIs via HTTP and receive notifications for selected events.
JavaScript
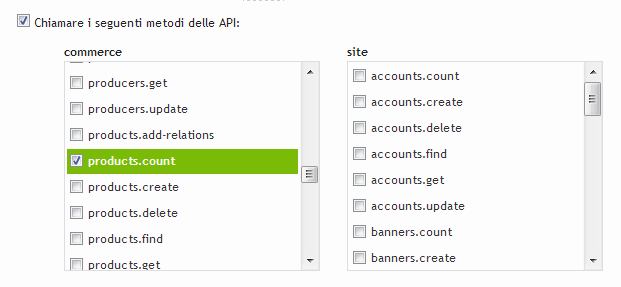
As a slightly more meaningful example, let's build an app that shows the number of products in the store. To do that, via settings we authorize the app to access the "commerce.products.count" API method:
To call the APIs from JavaScript, add the Admin SDK to the page which provides functions to operate with the platform:
<script src="https://open2b.dev/admin-sdk/open2b-admin-sdk-v7.8.min.js"></script>Note
When the app goes into production it is always preferable to download the Admin SDK script and host it on your own servers.
So add the Admin SDK and write the code that will show how many products are in the store:
<!DOCTYPE html>
<html>
<head>
<title>Hello world</title>
<script src="https://open2b.dev/admin-sdk/open2b-admin-sdk-v7.8.min.js"></script>
</head>
<body>
<script>
Admin.api('commerce.products.count', null, function(response) {
if ( response.status != 'ok' ) {
alert('Error: '+response.error.description);
return;
}
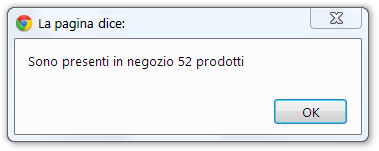
alert('There are '+response.count+' products in the store');
});
</script>
</body>
</html>Update the HTML page on the server and reopen the app:
How to continue
Now that you have an overview of the possibilities, you can continue learning by reading: